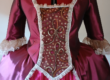
Although the bodice pattern pieces are so minimal and uses only a fraction of the fabric, especially if you think about the size of the dress, it sure is one of the most important parts. It helps to sell the look we are aiming for…grandeur and glamour. In this blog post, I will discuss the steps I followed to create the bodice and share some tips and tricks along the way, that I’ve learned over the years.
Cut the pattern
When placing my pattern pieces onto the fabric, I prefer to use pattern weights and any other weighted objects that I can find lying around the house, to keep my pattern pieces in place when cutting it out, instead of pinning or tracing it, because it saves a bit of time.
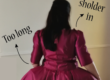
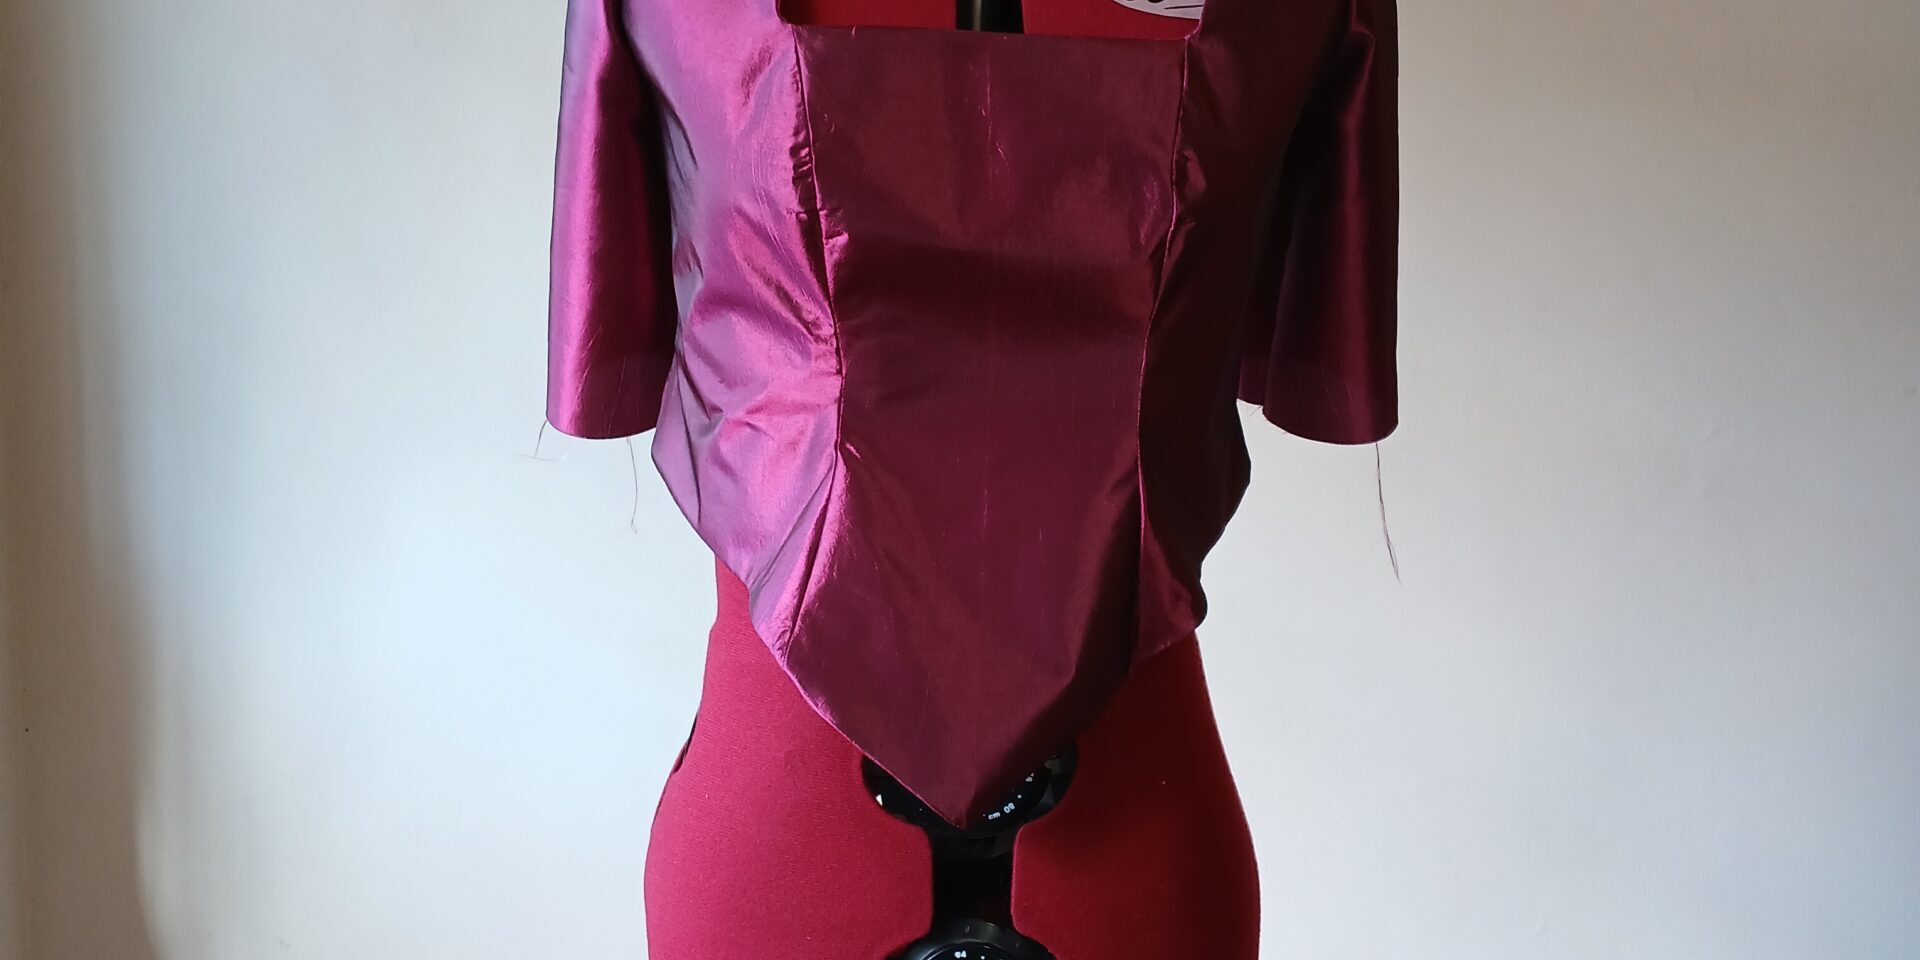
As you can see in the image at the shoulder seam, the corners are cut on a right angle. This is done to match the pattern pieces perfectly when you align the seam allowances of the different pattern pieces. In addition, it helps to minimise the bulk inside the seams which creates a neater look.
We opted for a three quarter sleeve with a frill to add glamour and to stay true to the fashion of that era.


Transfer the markings
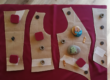
Whenever I need to transfer pattern markings onto my fabric, I prefer to use a combination of the following. Here is a list of my go-to transferring tools:
- Tailor’s chalk – I always have two different colours on hand, one for white and one for dark fabrics. I like to use this whenever I need to draw fine lines.
- Regular chalk – This is easier to draw onto the fabric, because it is softer and washes away with water.
- Tailor’s marker – I use this when I need to write notes onto the fabric or when the chalk struggles to transfer onto the fabric.
- Regular marker – I use this whenever I need to make markings within the seam allowance or interfacing that will not be visible from the outside, or when I need to trace a pattern, considering that I will cut on that line. The reason I prefer this over the tailor’s pen, it is more visible and clear.


Basic construction
I’ve started with the outside bodice, by ironing the interfacing onto the wrong side of the fabric and then stitched the seams together, following with the sleeves. Remember to cut the interfacing without any seam allowance, because it creates less bulk in the seams and it’s easier to stitch. Next I moved onto the lining and stitched the pieces together in the same manner. Then I’ve added channels for the boning on top of the side and princess seams. Lastly I’ve stitched the lining to the bodice, leaving the bottom open.


Adding the boning
Boning is a crucial element in ball gowns, because it not only needs to keep the dress up, but also carry the weight of the skirt. Although the skirt for this dress is going to be separate from the bodice, we’ve still decided to add boning to the side and princess seams of the bodice, to give structure to the garment. The boning will also help to limit wrinkles and unwanted fold lines. Because we’ve opted to add channels, the boning simply slides inside the channel, before you stitch the bottom hem closed.

Finishing
Lastly, I’ve added an open ended zip to the center back, to facilitate with quick costume changes between scenes and then topstitched around the neckline and hem, to prevent the lining from creeping out and to create a neater look.


I will discuss the embellishment of the bodice in a later blog post and share some awesome photos, so don’t miss that. Thanks for reading!
Watch out for our next blog post in the NEW Marie-Antoinette series, where we look at the fitting and all the adjustments we had to make to the dress…this is a very important step in creating a garment that should never be skipped. Keep a lookout for the final design still to come.
Blog posts in the Marie-Antoinette series:
PART 1: Versailles
PART 2: What else can go wrong?
PART 3: How many patterns does it take to make one dress?
PART 4: Creating the drama element…the Skirt
PART 5: The most intricate and time consuming part…the Bodice
Upcoming blog posts in the Marie-Antoinette series:
PART 6: Fitting…the most important step
PART 7: What is a Queen without a train?
PART 8: A gown fit for a Queen!
PART 9: The show must go on
Online Courses
If you are interested in learning how to sew or design your own patterns, sign up for one of our online courses to start in the comfort of your own home. Beginner, Intermediate & Advanced courses available to suit your skill level. Sign up now at https://online.craftchic.co.za/
Digital Patterns
Visit our online store at online store and get your digital pdf patterns for your favourite items. There is a variety of patterns available, including dresses, skirts, tops, pants, casual wear and everyday household items.