Designing a ballet costume inspired by the opulence of Marie Antoinette is a delightful challenge, especially when it comes to incorporating intricate elements such as a removable train. A train in ballet is more than just a decorative feature—it has to flow gracefully with the dancer’s movement while offering practical benefits, especially for quick costume changes between scenes.
In this post, I’ll take you through the process of drafting and sewing a removable train pattern, from concept to construction. Whether you’re a sewing student or an experienced crafter, I hope this breakdown offers some insight into how you can approach a similar project.
Step 1: Research and Inspiration
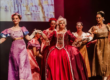
The first step in any period costume is thorough research. For this Marie Antoinette-inspired ballet costume, I relied heavily on reference images from the 18th century to capture the essence of that era’s fashion. The flowing lines, extravagant details and the sense of grandeur were all things I wanted to incorporate into the design.
I looked at paintings, fashion sketches, and even images of contemporary ballet productions that had taken on this style. The key feature I wanted to focus on for the train was its graceful movement—how it would trail behind the dancer while still being practical enough for quick stage changes.

Step 2: Drafting the Train Pattern
Once the design concept was clear, it was time to move into pattern drafting. There were a few key elements we had to consider in order to ensure the train looked elegant, but also worked within the functionality needed for a ballet performance.
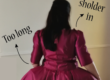
- Width of the Hem: The width of the train’s hem was the first factor we considered. It needed to be wide enough to create a dramatic flair, but not so wide that it would become cumbersome for the dancer to move in. I wanted the hem to flow softly while still maintaining that signature Marie Antoinette luxury. We measured the desired width, ensuring it would complement the shape of the overall costume.
- Width Across the Shoulders: Next, we determined the width across the shoulders where the train would attach to the bodice. Because this measurement is so much smaller than the width of the train’s hem, we knew we’re going to have a challenge to keep the train wide enough to distribute the fabric evenly without overpowering the dancer’s movement and create bulk at the shoulders across the back. The goal was to have a smooth connection between the bodice and the train, so that the transition looked seamless.
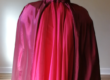
- Box Pleats: To create the dramatic volume we wanted without adding too much bulk, I decided to use box pleats. These pleats allowed us to gather the fabric across the width of the shoulders while still maintaining the flow of the train as it extended behind. The box pleats also helped ensure that the fabric would open up at the bottom of the train when the dancer moved, creating a beautiful, sweeping effect as they walked across the stage.
- Dividing the Fabric: To get the proper amount of volume and ensure the fabric was evenly distributed, we divided the excess fabric into four box pleats. This made it easier to manage the fabric’s fullness and kept everything symmetrical, both for aesthetic balance and practicality.


Step 3: Making the Train Removable
As any costume designer knows, practicality is key, especially when it comes to quick changes between scenes. In this case, the decision was made to make the train removable. The last thing we wanted was for the dancer to be stuck wearing a cumbersome piece of fabric when they needed to quickly transition into another scene.
We opted for a Velcro attachment system, which was simple but effective. By placing strips of Velcro along the shoulders of the bodice and corresponding sections on the train, we ensured that the train could be easily attached and removed in a matter of seconds.
Velcro has the added benefit of being durable yet discreet. It held the train securely in place without interrupting the flow of the costume or being visible to the audience. Plus, the simplicity of this solution meant that costume changes could happen swiftly, making it perfect for live performances.

Step 4: Sewing the Train
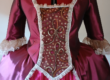
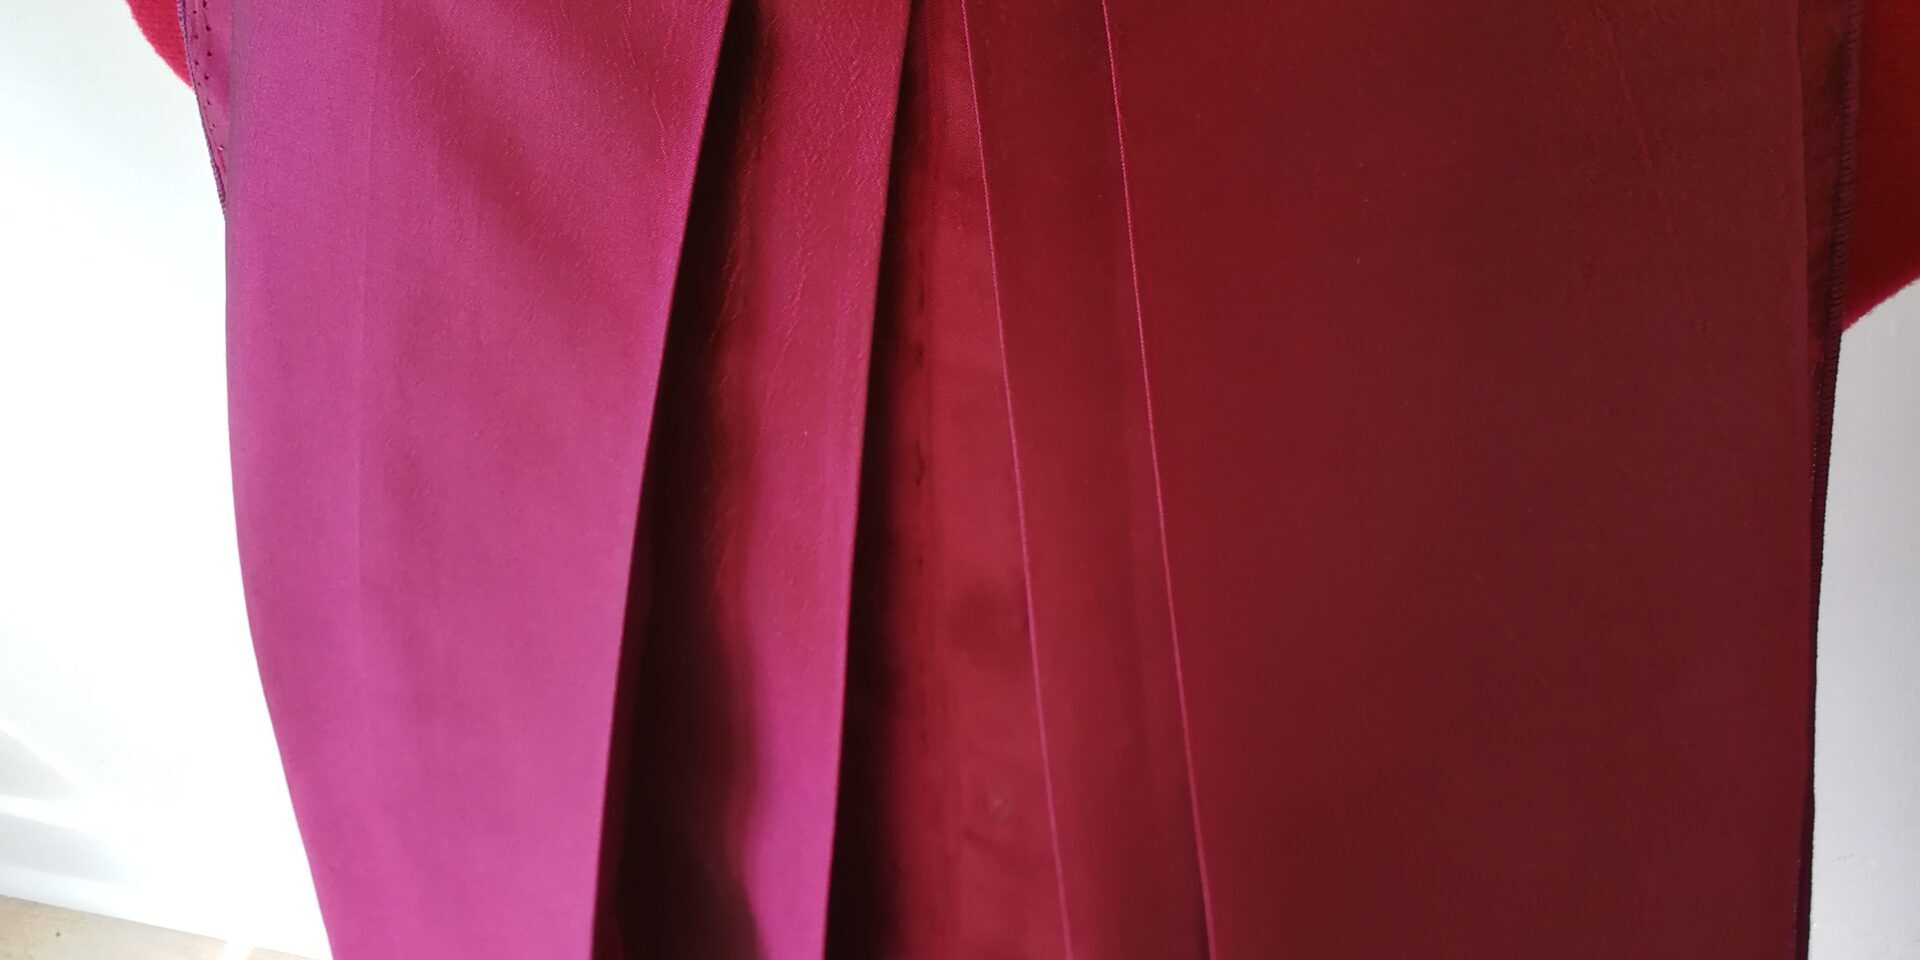
Once the pattern was drafted and all measurements were finalised, it was time to sew the train. We decided to use the same Taffeta fabric from the main dress to create a seamless ensemble, enhancing the overall grandeur of the design. This fabric not only catch the light beautifully, but also move fluidly with the dancer’s movements. It’s important to pick fabrics that have some weight to them, so they don’t wrinkle easily or create a stilted look.
I finished the raw edges of the fabric first using the rolled hem setting on my overlocker/serger. Next I sewed the box pleats, making sure they were even and secure. Afterward, the Velcro strips were carefully sewn along the edges where the train would attach. It was essential to make sure that the Velcro would align perfectly, so the train stayed in place during the performance, but could still be removed effortlessly when needed.


Creating a removable train for a Marie Antoinette ballet costume was an exciting challenge that combined period-inspired design with modern functionality. By using box pleats to gather the fabric and adding a Velcro attachment system, we were able to craft a train that was both stunning in appearance and practical for the dancer’s performance needs.
For anyone tackling a similar project, remember that combining aesthetics with performance requirements is essential. Don’t be afraid to experiment with different pleating techniques, attachment methods and fabric choices, until you find what works best for your design.
As always, the final product should not only look beautiful but also ensure the dancer can perform comfortably and confidently.
Thanks for reading!
The wait is almost over! Watch out for our next blog post in the NEW Marie-Antoinette series, for the big reveal of the finished Marie-Antoinette gown. In this part you will see all the embellishments that we used to finish off the gown fit for a Queen. This was a very enjoyable project.
Blog posts in the Marie-Antoinette series:
PART 1: Versailles
PART 2: What else can go wrong?
PART 3: How many patterns does it take to make one dress?
PART 4: Creating the drama element…the Skirt
PART 5: The most intricate and time consuming part…the Bodice
PART 6: Fitting…the most important step
PART 7: What is a Queen without a train?
Upcoming blog posts in the Marie-Antoinette series:
PART 8: A gown fit for a Queen!
PART 9: The show must go on
Online Courses
If you are interested in learning how to sew or design your own patterns, sign up for one of our online courses to start in the comfort of your own home. Beginner, Intermediate & Advanced courses available to suit your skill level. Sign up now at https://online.craftchic.co.za/
Digital Patterns
Visit our online store at online store and get your digital pdf patterns for your favourite items. There is a variety of patterns available, including dresses, skirts, tops, pants, casual wear and everyday household items.